

Optical metrology - an impressive range of test facilities available
Here we will discuss out state-of-art and well-equipped metrology department. We rely on our metrology instruments and highly trained inspectors to be able to deliver precise and strict quality control of all of our optical components.
Crystran would be pleased to discuss the use of this new instrument with you and, if you like, measure any samples you’d care to send our way.
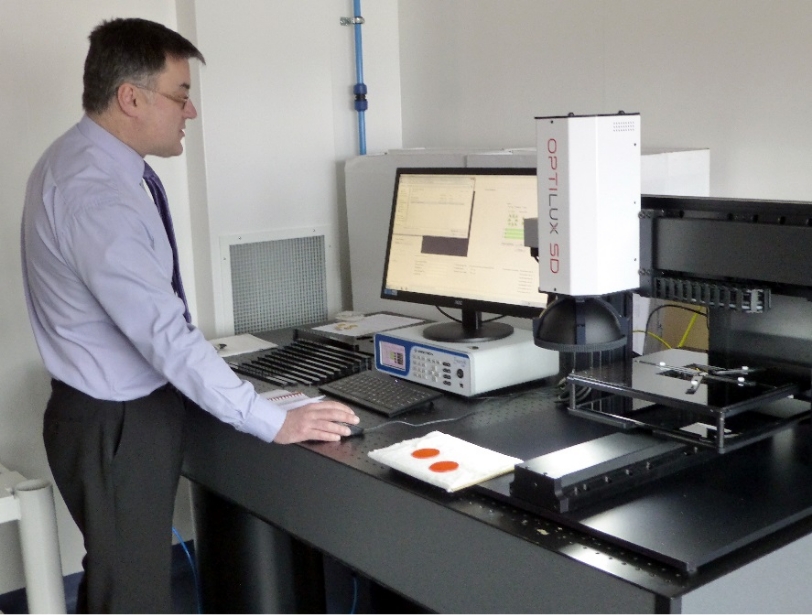 Scratch Dig measurement finally enters the 21st Century. Long regarded as a subjective measurement, scratch/dig remains one of the main industry standards defining the cosmetic finish of optical surfaces. In practice however, the practicalities of performing this assessment leads to a result that is highly subjective and prone to discussion. Although the use of "comparator plates" enables the inspector to roughly qualify the level of any gross imperfection, the intricacies of MIL13830 calls for the operator to make a pass/fail against the combined length of all scratches relative to the size of the optic; a challenging feat for even the most experienced technician.
Over recent years Crystran has seen an increase in the number of customers specifying against MIL13830 so we’ve decided to do something about it. Working with an advanced metrology company, we commissioned the design and development of a dedicated scratch/dig instrument to automatically assess components up to a clear aperture of 300mm. This instrument is calibrated against a set of industry recognised Davidson Optronics standards, and is able to resolve surface imperfections as small as 5µm using a dark-field measurement technique.
The instrument analyses the complete optic and provides an objective measure of scratch/dig that accounts for all the accumulation rules specified in the MIL standard. Additionally, any individual imperfection (or group of imperfections) can also be accurately assessed via an integration of the total amount of light being scattered.
Crystran would be pleased to discuss the use of this new instrument with you and, if you like, measure any samples you’d care to send our way.
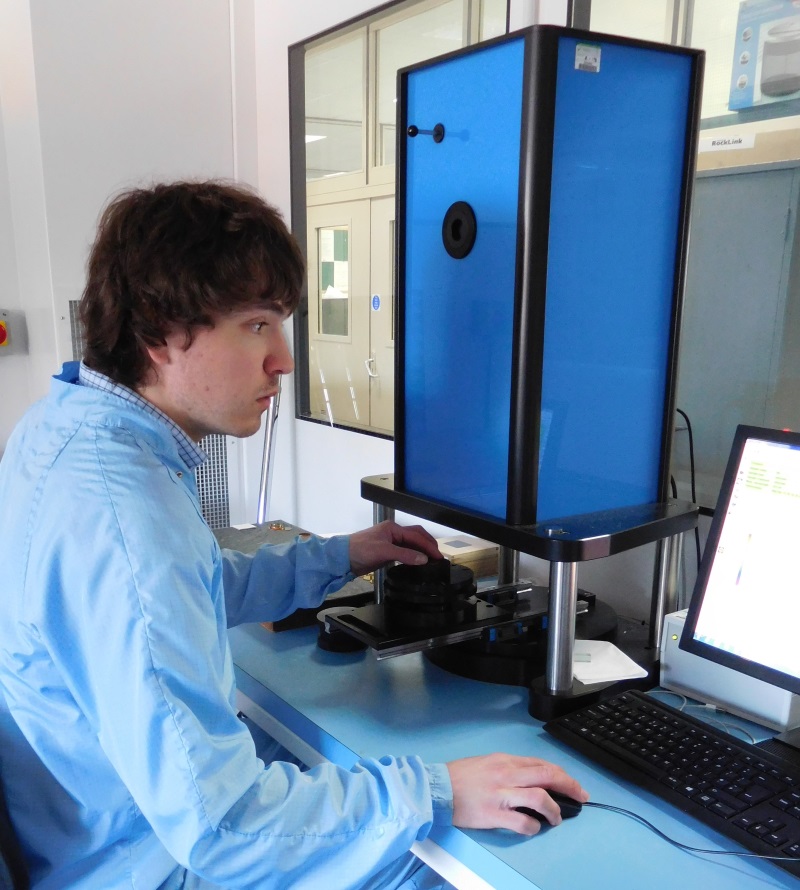
After its regular weekly calibration against our Davidson Optronics Scratch/Dig plates, Kevin Wright is seen here using the instrument to measure the surface quality of a ZnSe plate window. A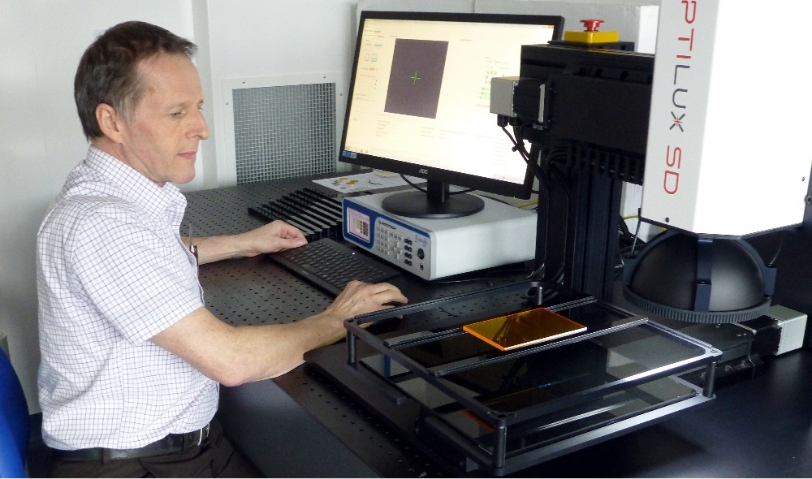 trade-off between flatness and surface quality is often witnessed. After polishing to our usual standards, the scratch/dig instrument is being used to assess the surface quality against MIL13830, resulting in a very fast, repeatable and quantified assessment of each component along with a thorough report for our customers to see.
In addition to saving production time by avoiding any unnecessary rework of the material, the use of this instrument provides an unambiguous readout of scratch/dig, against a calibrated standard, adding even more weight to the Crystran stamp of quality assurance.
For further information on how to best measure scratch/dig, please visit the following: https://redlux.net/optilux-sd/
Interferometery
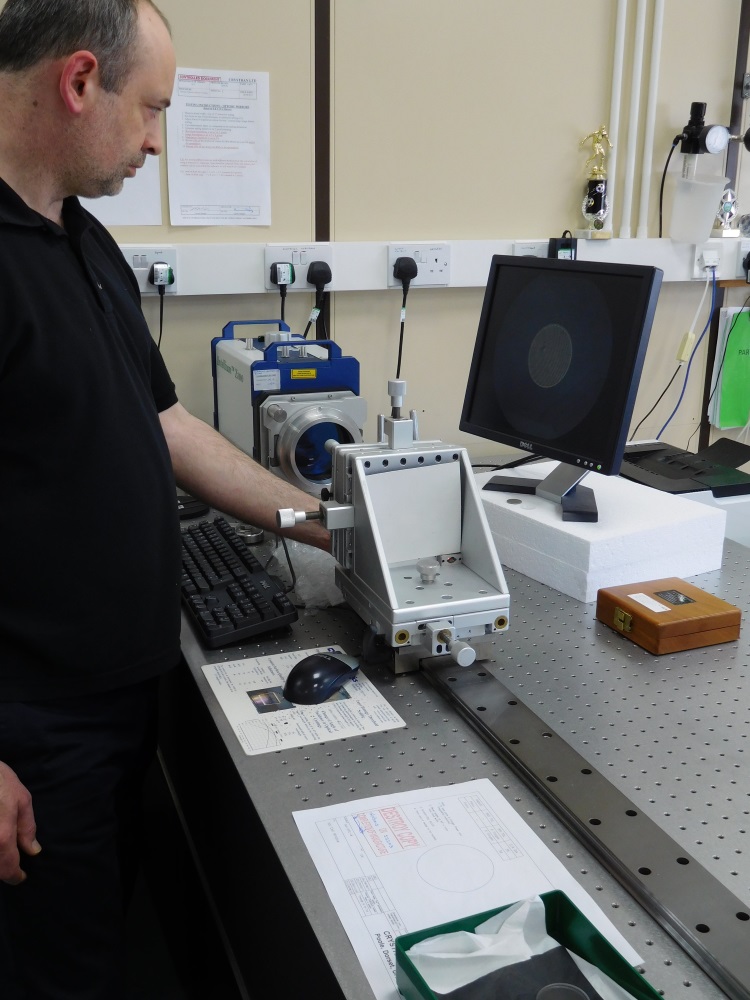 Crystran Ltd relies on four interferometers.
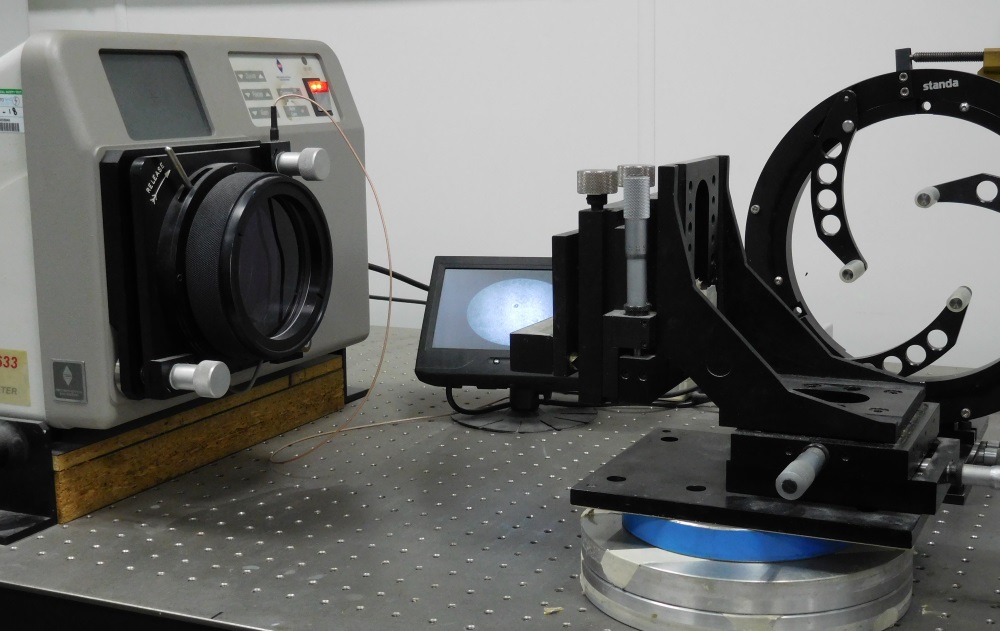
Our main intrument stationed in our Inspection Department is a 4″ (100mm) Intellium Z100 Horizontal Interferometer expandable to 6″ with Jenoptik attachment. Qualified traceable capability to λ/20.
It is sited on a 3 Metre Optical Bench with rail, SIOS laser and Heidenhain digital encoder for testing ROC of lenses up to approx. +650mm Convex & -900mm Concave (C/A dependant on diameter of lenses and best fit sphere to radius f /1.0, f /3.3 & f /7.0 spheres). Lens form errors can also be checked.
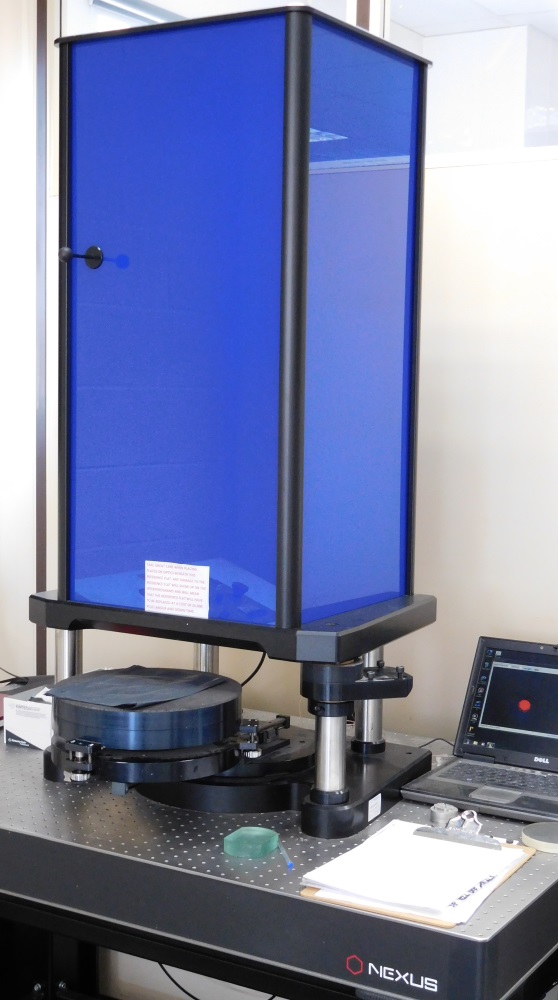
Each of our three polishing shops has its own dedicated interferometer. In the high quality shop with the large pitch polishing machines we use a 12″ (300mm) vertical bespoke design Interferometer. The reference flat qualified to λ/20 enables us to test the larger optics produced here. A smaller 3" (100mm) interferometer of the same bespoke design is used in our double-sided clean room polishing area. Our original and elderly 3" (100mm) interferometer now resides in the main workshop where it is used for checking a wide range of work before submitting the finished article to Inspection.
S
S
Spectrophotometry
Amongst our ever increasing range of cutting-edge test equipment, we have now upgraded our Spectrophotometers with brand new instruments. It is important for an optical shop like Crystran, who specialise in UV and IR optics, to be able to characterise our materials in these wavebands.
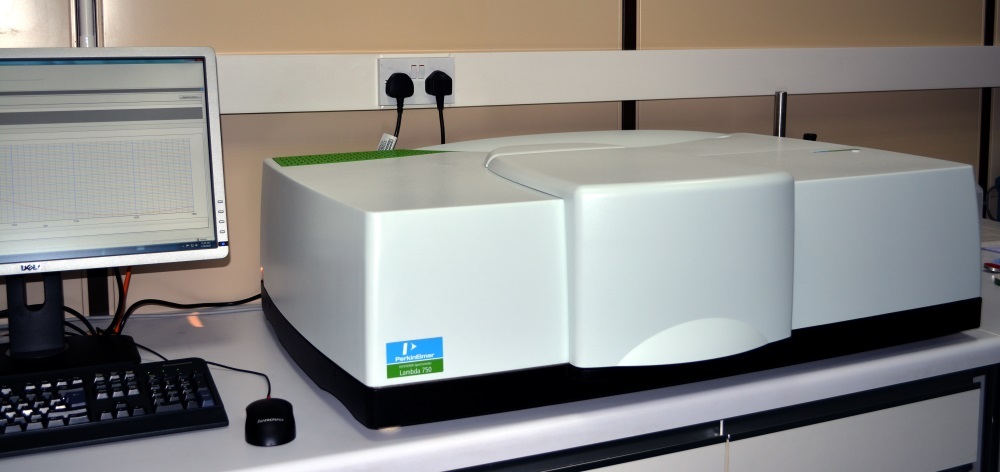
Perkin-Elmer Lambda 750 UV/VIS/NIR Instrument.
Test Range: 195nm to 3.0 microns
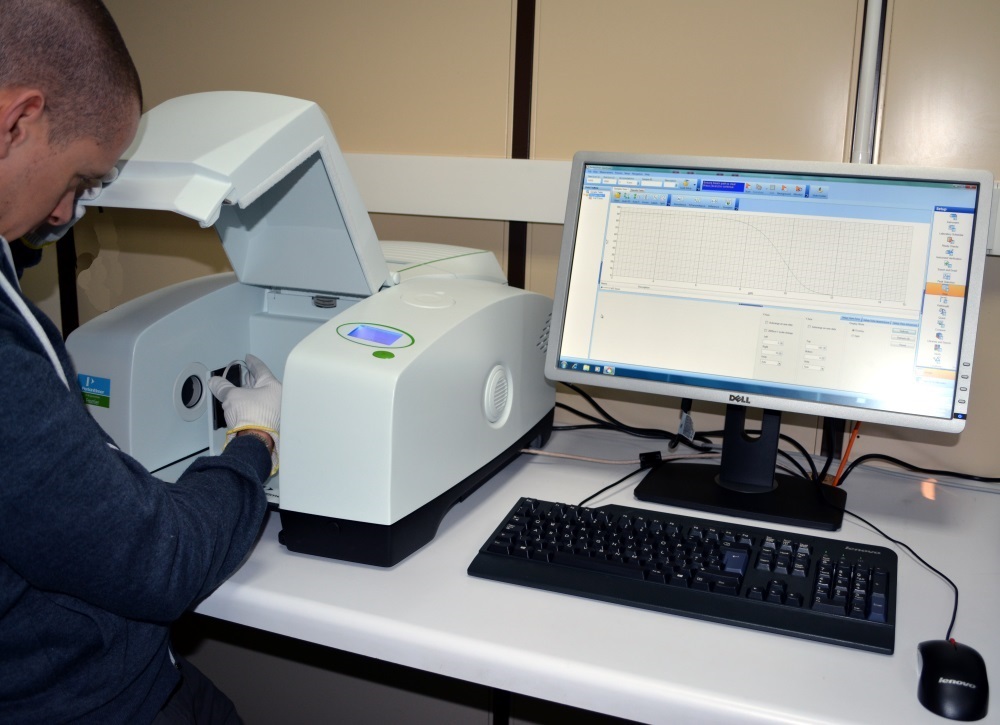
Perkin-Elmer Frontier FTIR Instrument
Test range: 2.5 microns to 25 microns
 Dimensional Test Facilities.
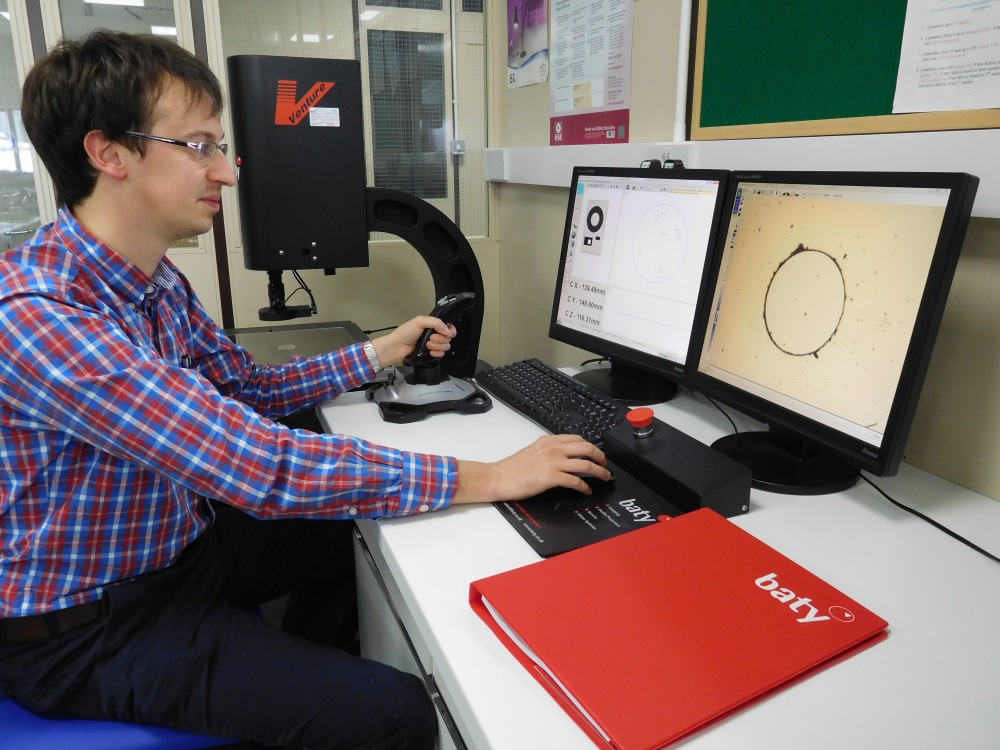
Adding to our extensive range of conventional traceable vernier gauges and micrometers, Crystran is using the state-of-the-art Baty Vision Systems Venture dimensional measuring instrument to check dimensions and angles on critical optical components. It enables us to measure components with minimum physical contact to avoid damage to the optical surfaces. This is particularly important especially when dealing with soft materials that mark easily and also highly specified components that should have only minimum handling.
This system can measure to an accuracy of better than ten microns so we can be sure that even the most specialised components can be shown to comply with the dimensional specificatons.
At switch-on, the system will automatically zero and calibrate itself each time. The procedure then requires the focusing of the camera on the edge of the component and choosing basic shapes to match to it; lines, curves, circles, quadrilaterals and more. Using one or a mixture of these templates, the edges of the component are traced on the live camera feed which automatically picks up the dark outline of the piece and transfers it to the measurement screen. It is then very simple to measure dimensions and angles by clicking on the relevant points.
The Baty System is often used to check components that have been drilled, as it can measure the internal diameter of the drilled holes as well as the hole centre spacing. We also use it to measure the angles on prisms and the radii on quadrants. Where it has a unique ability is to magnify small features on a component, or to check particularly small components that are difficult to hold or properly inspect with the naked eye or a hand lens.
It gives us the capability to accurately measure components over a wide range of sizes and shapes, so special orders that are difficult to measure by conventional means can be checked to ensure our high quality standards are maintained.
Alex Young B.Eng.
Inspection Department
Surface Analysis and Roughness Average
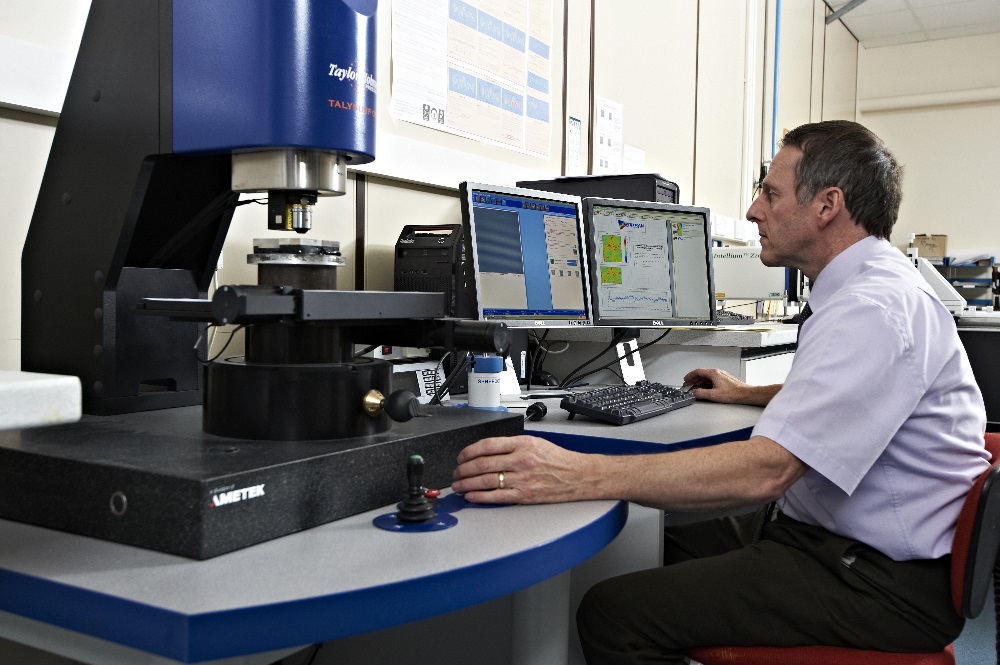
Extending Crystran’s capabilities in test and measurement, we have a Taylor Hobson CCI 6000 Talysurf which allows us to accurately analyse the surface roughness of optics to ensure our customers’ exacting specifications are being met.
This is a non-contact white light instrument for precise measurement of roughness, waviness and form error of an optic. Mounted on special anti-vibration mounting, it can measure Roughness Average (Ra) with a resolution down to 0.1 Angstrom (0.01nm).
The Talysurf’s camera scans thousands of adjacent points over the surface of a sample area of the optic, which can be from 0.36mm2 to 3.6mm2 depending on which lens is used, and over a preselected depth range, to capture the surface coordinates of each point within the sample area as raw data. This highly versatile machine includes various digital filters that can be applied to the raw data, for example, to help separate out the surface wavelengths associated with roughness from those longer wavelengths associated with waviness and form error of the optic surface, so that only roughness wavelengths appear for measurement.
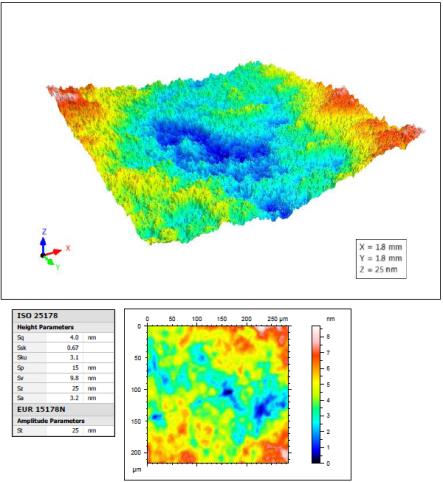
Software then uses this captured data to calculate a range of standard measurement parameters for average and peak-to-peak roughness.
Parameters we typically measure for general surface finish include Ra (Roughness Average, or arithmetic mean deviation of the roughness profile) and Rq (the RMS root-mean-squared value of roughness). For many International Standards, the Ra or Rq value is usually determined by taking data over 5 consecutive sampling lengths, and averaging these, to ensure the roughness value is typical of the whole surface.
Sometimes maximum surface height/depth measurements are required instead of average height, typically to identify particular defects, e.g. Rt (maximum vertical peak- to-valley height, measured between the highest and lowest points of the profile within the evaluation length).
Surface roughness measurement is complex, and is defined in different ways by different International Standards. To accommodate this, the Talysurf can be configured to output results to any one of a range of different International Standards. This leads to a wide range of “standard” parameters that the Talysurf can measure, e.g. amplitude (Rp, Rv, Rz, Rzi, Rmax etc.), surface average (Sa, Sq, etc.), unfiltered (Pa, Pq; etc.); the parameter definition being in accordance with whichever International Standard option is selected.
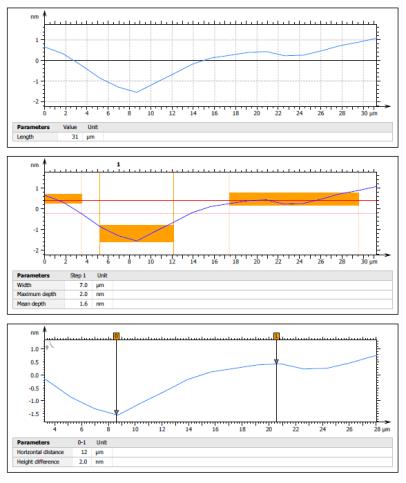
The Talysurf can generate on-screen both 2d and 3d colour-coded contour maps of the texture of the sampled surface of the optic. Any anomalies can be easily seen amongst the microscopic peaks and valleys of the surface. Scales and orientation can be adjusted to aid visualisation of surface defects.
2D profiles can also be extracted and presented graphically to examine the amplitude of the surface along specific user-defined paths.
The Talysurf can compile its measurements into accurate surface analysis reports. At Crystran we use these reports typically in internal quality control, although they may also be provided to customers, on request, as an additional service.
November 2016