Crystran Metrology Part 1
This month’s newsletter is a tribute to our state-of-art and well equipped metrology department. We rely on our metrology instruments and highly trained inspectors to be able to deliver precise and strict quality control of all of our optical components.
In this newsletter and the one to follow we want to introduce you to some of our equipment, its precision and uses.
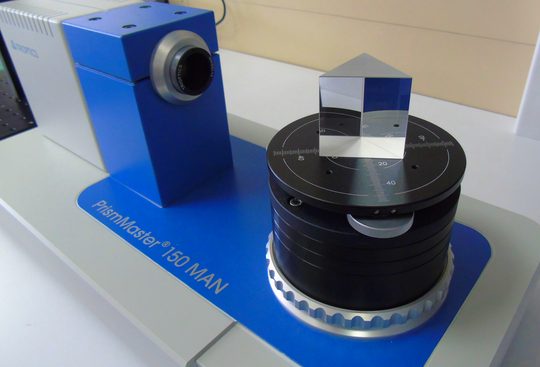
Trioptics Prism Master
The PrismMaster autocollimator is used for high-precision optical angle measurements on prisms, polygons and wedges with an accuracy of better than 2 arc seconds.

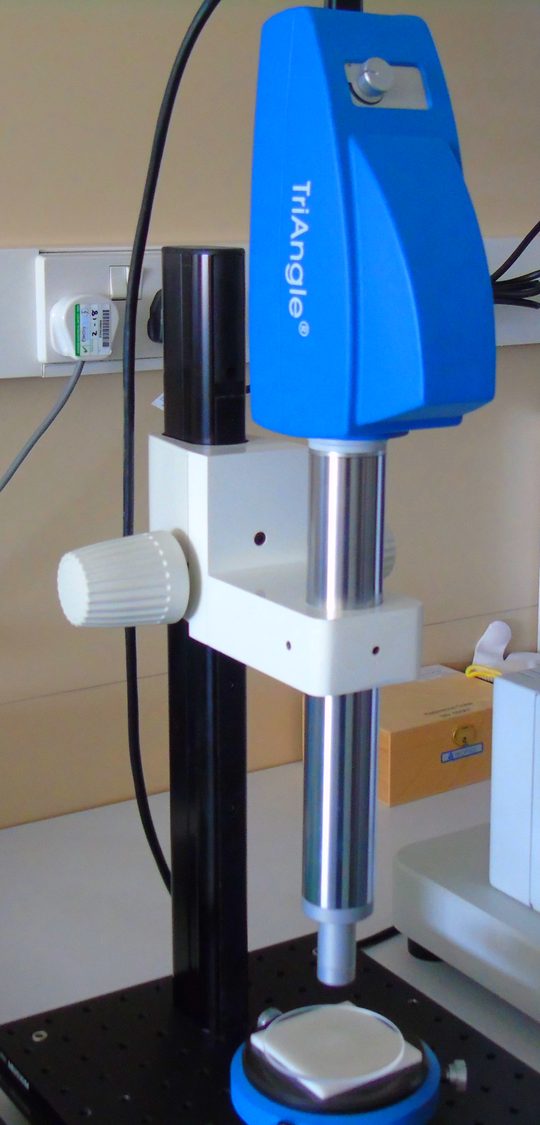

Trioptics TriAngle
The TriAngle autocollimator is a non-contact optical test tool for the high-precision measurement of angular displacements of specular reflective surfaces. Again with an accuracy of better than 2 arc seconds.
We have several interferometers on the premises including one in each of our 3 polishing shops.
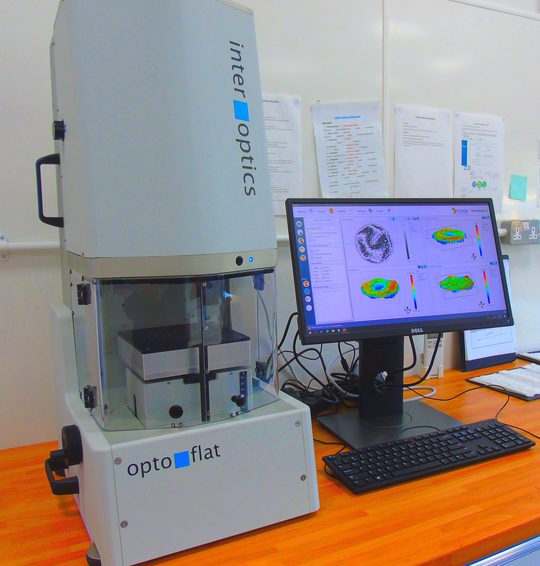
Intervue: Low Coherence Interferometer
Our newest interferometer, quick and accurate (λ/20) analysis of surface flatness can now be made on parallel transmissive parts without painting the rear face.

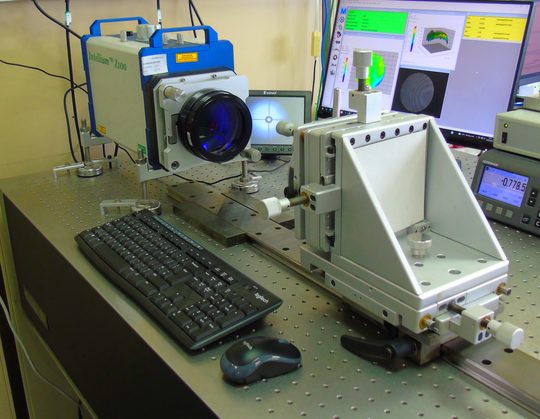

4″ (100mm) Intellium Z100 Horizontal Interferometer mounted on a 3m rail and optical bench
For measurements of radii of curvature of lenses up to +650mm convex and -900mm concave
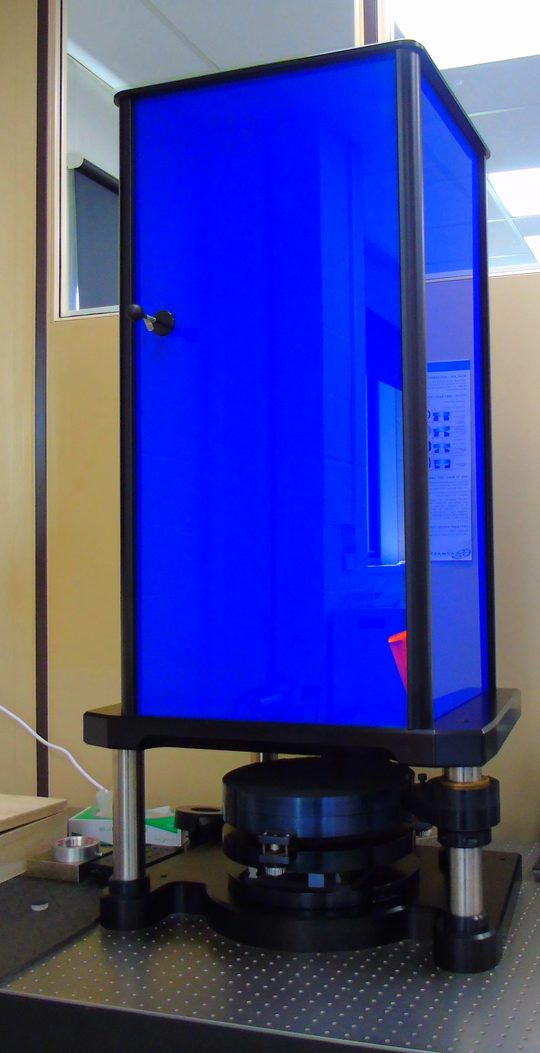
12 inch (300mm) vertical bespoke design interferometer
This is our largest interferometer and allows measurement of parts up to 12 inches in diameter and λ/20

If you have any questions or need more information, please feel free to contact us at Sales@crystran.co.uk.